If you build native iOS, iPad mobile or desktop applications you know that you need to create screenshots for the App Store. This can be a tedious process, especially if you have a lot of screenshots to create. In this tutorial, we are going to build a Python script that will generate screenshots for the App Store.
Let's dive into how we can build this script.
To run this Python script, you need:
Install Pillow with pip:
pip install pillow
Create a new directory somewhere of your choice.
mkdir app-store-screenshots
Create a new file called generate_screenshots.py and paste the following code into it.
import sys
from PIL import Image, ImageDraw, ImageFont
from datetime import datetime


def round_corners(image, radius):
    mask = Image.new("L", image.size, 0)
    draw = ImageDraw.Draw(mask)

    draw.rectangle([(0, 0), (image.width, image.height)], fill=0)
    draw.ellipse([0, 0, radius * 2, radius * 2], fill=255)
    draw.ellipse([image.width - radius * 2, 0, image.width, radius * 2], fill=255)
    draw.ellipse([0, image.height - radius * , radius * , image.height], fill=)
    draw.ellipse(
        [
            image.width - radius * ,
            image.height - radius * ,
            image.width,
            image.height,
        ],
        fill=,
    )
    draw.rectangle([, radius, image.width, image.height - radius], fill=)
    draw.rectangle([radius, , image.width - radius, image.height], fill=)

    image.putalpha(mask)
     image


 ():
    canvas.paste(image, (x_offset, y_offset), image)


 ():
    aspect_ratio = image.width / image.height
    new_width = (max_width, (max_height * aspect_ratio))
    new_height = (max_height, (max_width / aspect_ratio))
     image.resize((new_width, new_height), Image.LANCZOS)


 (sys.argv) < :
    (

    )
    sys.exit()

original_file, marketing_title, marketing_tagline1, marketing_tagline2 = (
    sys.argv[],
    sys.argv[],
    sys.argv[],
    sys.argv[],
)


device_dimensions = {
    : (, ),
    : (, ),
    : (, ),
    : (, ),
    : (, ),

}


timestamp = datetime.now().strftime()


 device, dimensions  device_dimensions.items():
    width, height = dimensions


    canvas = Image.new(, (width, height), )
    canvas = round_corners(canvas.convert(), )
    draw = ImageDraw.Draw(canvas)


    title_font = ImageFont.truetype(, )
    subtitle_font = ImageFont.truetype(, )


    title_w, title_h = draw.textsize(marketing_title, font=title_font)
    title_x = (width - title_w) //
    title_y = ( - title_h) //

    subtitle1_w, subtitle1_h = draw.textsize(marketing_tagline1, font=subtitle_font)
    subtitle1_x = (width - subtitle1_w) //
    subtitle1_y = title_y + title_h +

    subtitle2_w, subtitle2_h = draw.textsize(marketing_tagline2, font=subtitle_font)
    subtitle2_x = (width - subtitle2_w) //
    subtitle2_y = subtitle1_y + subtitle1_h +

    draw.text(
        (title_x, title_y), marketing_title, font=title_font, fill=(, , )
    )
    draw.text(
        (subtitle1_x, subtitle1_y),
        marketing_tagline1,
        font=subtitle_font,
        fill=(, , ),
    )
    draw.text(
        (subtitle2_x, subtitle2_y),
        marketing_tagline2,
        font=subtitle_font,
        fill=(, , ),
    )


     Image.(original_file)  img:
        max_height = height -
        img_resized = resize_and_maintain_aspect(img, width - , max_height - )


        img_resized = round_corners(img_resized.convert(), )

        x_offset = (width - img_resized.width) //
        y_offset = ((max_height - img_resized.height) // ) +

        add_to_canvas(canvas, img_resized, x_offset, y_offset)


    canvas = canvas.convert()

    output_file =
    canvas.save(output_file)

()
The script takes an original image and layers it with marketing text to create device-specific screenshots. It performs several operations:
round_corners() function rounds the corners of an image."#1f1f1f" in Image.new() to your desired background color.device_dimensions dictionary to add/remove devices.title_y, subtitle1_y, and subtitle2_y to adjust text positioning.generate_screenshots.py..ttf font file and place it in the same directory as the script.Run the script:
python generate_screenshots.py original.png "My App" "Best App Ever" "Download Now"
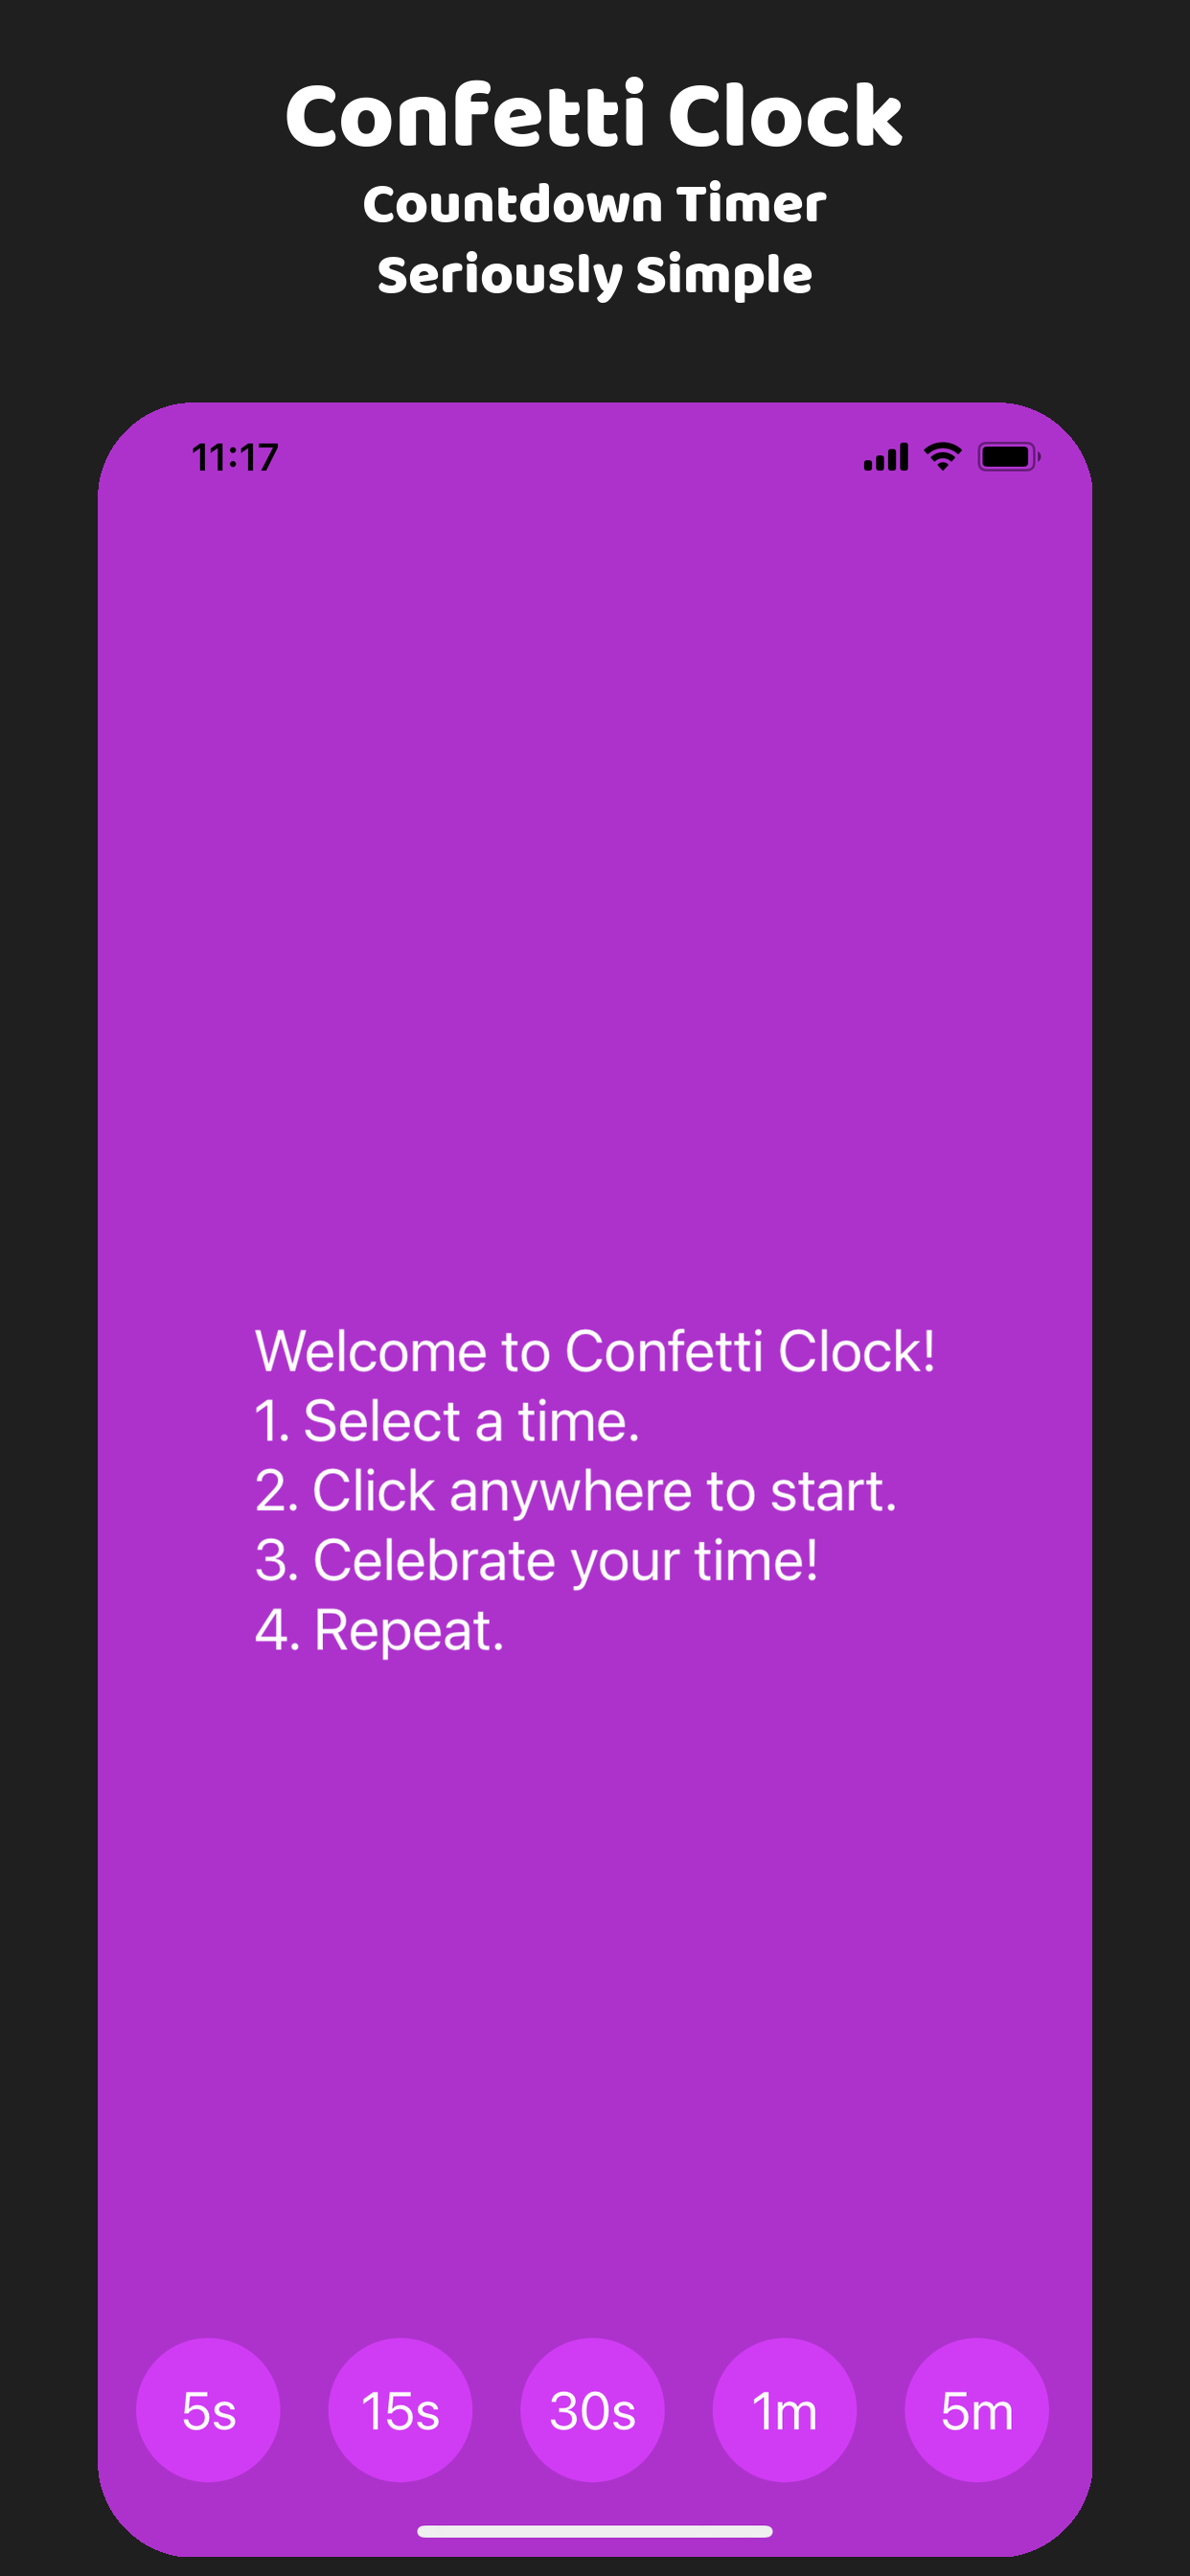
Once the script is run, it will generate PNG files in the format marketing_{device}_{timestamp}.png and they will look like this:
I hope this post helps you speed up your iOS App Store screenshot creation process. If you have any questions or comments, please contact me!
Happy coding!
Please consider Buying Me A Coffee. I work hard to bring you my best content and any support would be greatly appreciated. Thank you for your support!